Install IAP Desktop
Prerequisites
To follow the steps in this section, make sure that you meet the following prerequisites:
- You're using Windows 10, Windows Server 2019, or higher.
- Your computer has internet access (direct or via a proxy server).
You do not need admin rights unless you install on Windows Server.
To download and install IAP Desktop on your computer, do the following:
-
Download the latest installer package:
-
Double-click the downloaded
IapDesktop.msiand follow the steps of the installation wizard. -
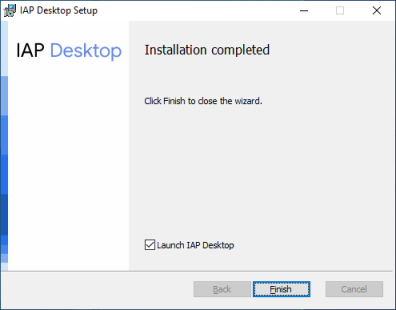
On the last page, click Finish to launch IAP Desktop:
Connect to Google Cloud
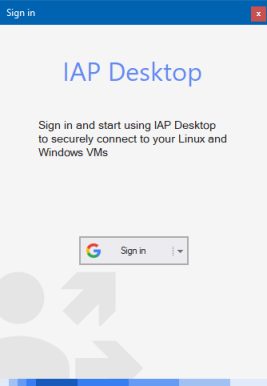
When you first launch IAP Desktop, you see the Sign-in dialog:
To sign in with your Google user account (Cloud Identity, Workspace, Gmail or other), do the following:
- On the Sign-in dialog, click Sign in.
- Follow the steps in the web browser to sign in with your Google user account.
-
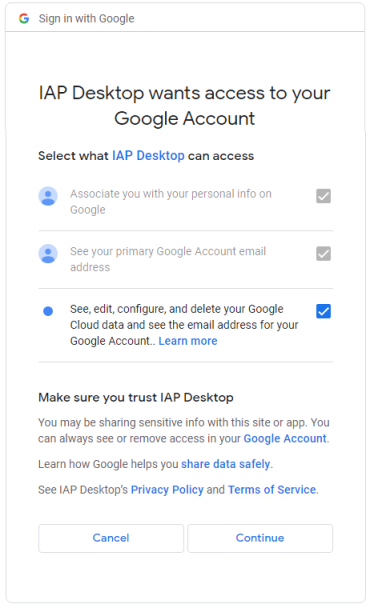
On the IAP Desktop wants to access your Google account screen, allow IAP Desktop to See, edit, configure, and delete your Google Cloud data by setting the checkbox to enabled:
Note
If you don't allow IAP Desktop to access your Google Cloud data, the application can't connect to any of your VM instances.
-
Click Continue to complete the sign-in.
- Close the browser tab or window.
If your organization uses workforce identity federation , do the following to sign in:
- On the Sign-in dialog, click Sign in > Options.
-
On the Sign-in method dialog, select Sign in with workforce identity federation and enter the following settings:
- Location ID: the location of your workforce identity pool, typically
global. - Pool ID: the ID of your workforce identity pool.
- Provider ID: the ID of your workforce identity pool provider.
- Location ID: the location of your workforce identity pool, typically
-
Click OK.
- On the Sign-in dialog, click Sign in.
- Follow the steps in the web browser to sign in with your corporate identity provider.
- On the Continue to Google Cloud SDK page, click Next to complete the sign-in.
- Close the browser tab or window.
For more information on troubleshooting common sign-in issues, see Troubleshooting sign-in issues.
Access your projects
Required roles
To follow the steps in this section, you need the following roles:
- Compute Viewer on the project you want to connect to.
Now that you're signed in, you can access your Google Cloud projects:
-
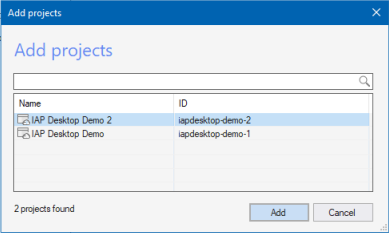
In the Add project dialog, select your Google Cloud project and click Add project.
-
Select one or more projects and click Add.
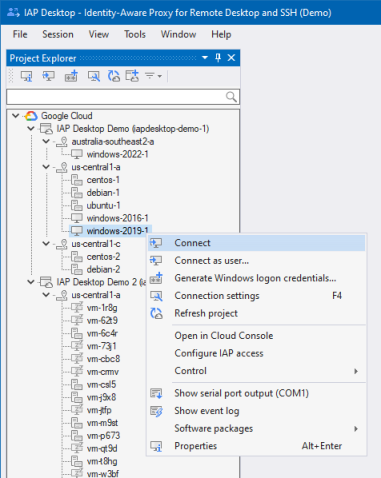
The Project Explorer now shows the project and all VM instances that the project contains:
-
Optionally, click Profile > Add project in the menu to add additional projects.
You're now ready to connect to a Windows VM or a Linux VM.
Frequently Asked Questions
Do I need to install the Cloud SDK to use IAP Desktop?
No, IAP Desktop does not depend on the Cloud SDK or gcloud.
Do I need local admin rights to install IAP Desktop on my machine?
No, IAP Desktop can be installed without admin rights unless you are installing on a Windows Server system.
Windows Server doesn't allow per-user installations by default. See Troubleshooting for details on how to install IAP Desktop on Windows Server.
Is IAP Desktop compatible with App Locker?
Yes, the IAP Desktop installation package and all binaries are signed and are compatible with App Locker publisher conditions .
What's next
- Set up IAP in your project so that you and other users can connect to VMs.
- See how you can connect to Windows VMs by using RDP
- See how you can connect to Linux VMs by using SSH