Cymbal Shops Demo Application (API & UI)
This directory contains the source code for the Cymbal Shops demo application, which includes:
- Backend API: A Node.js/Express application (
api/) that provides REST endpoints (/api/*) to interact with the AlloyDB database. - Frontend UI: An Angular application (
ui/) providing the user interface for searching products. - Deployment Scripts: Helper scripts (
env.sh,install.sh,deployment/) to deploy the application to Google Cloud Run or run locally.
Note: This application requires the AlloyDB database to be set up first
using one of the notebooks in the parent directory
(../cymbal_shops_stylesearch_demo_shortcut.ipynb or
../cymbal_shops_hybrid_search_alloydb_data_prep.ipynb). If you are using
Public IP to connect to AlloyDB, ensure your source public IP is allowed as an
Authorized Network in
AlloyDB.
Architecture
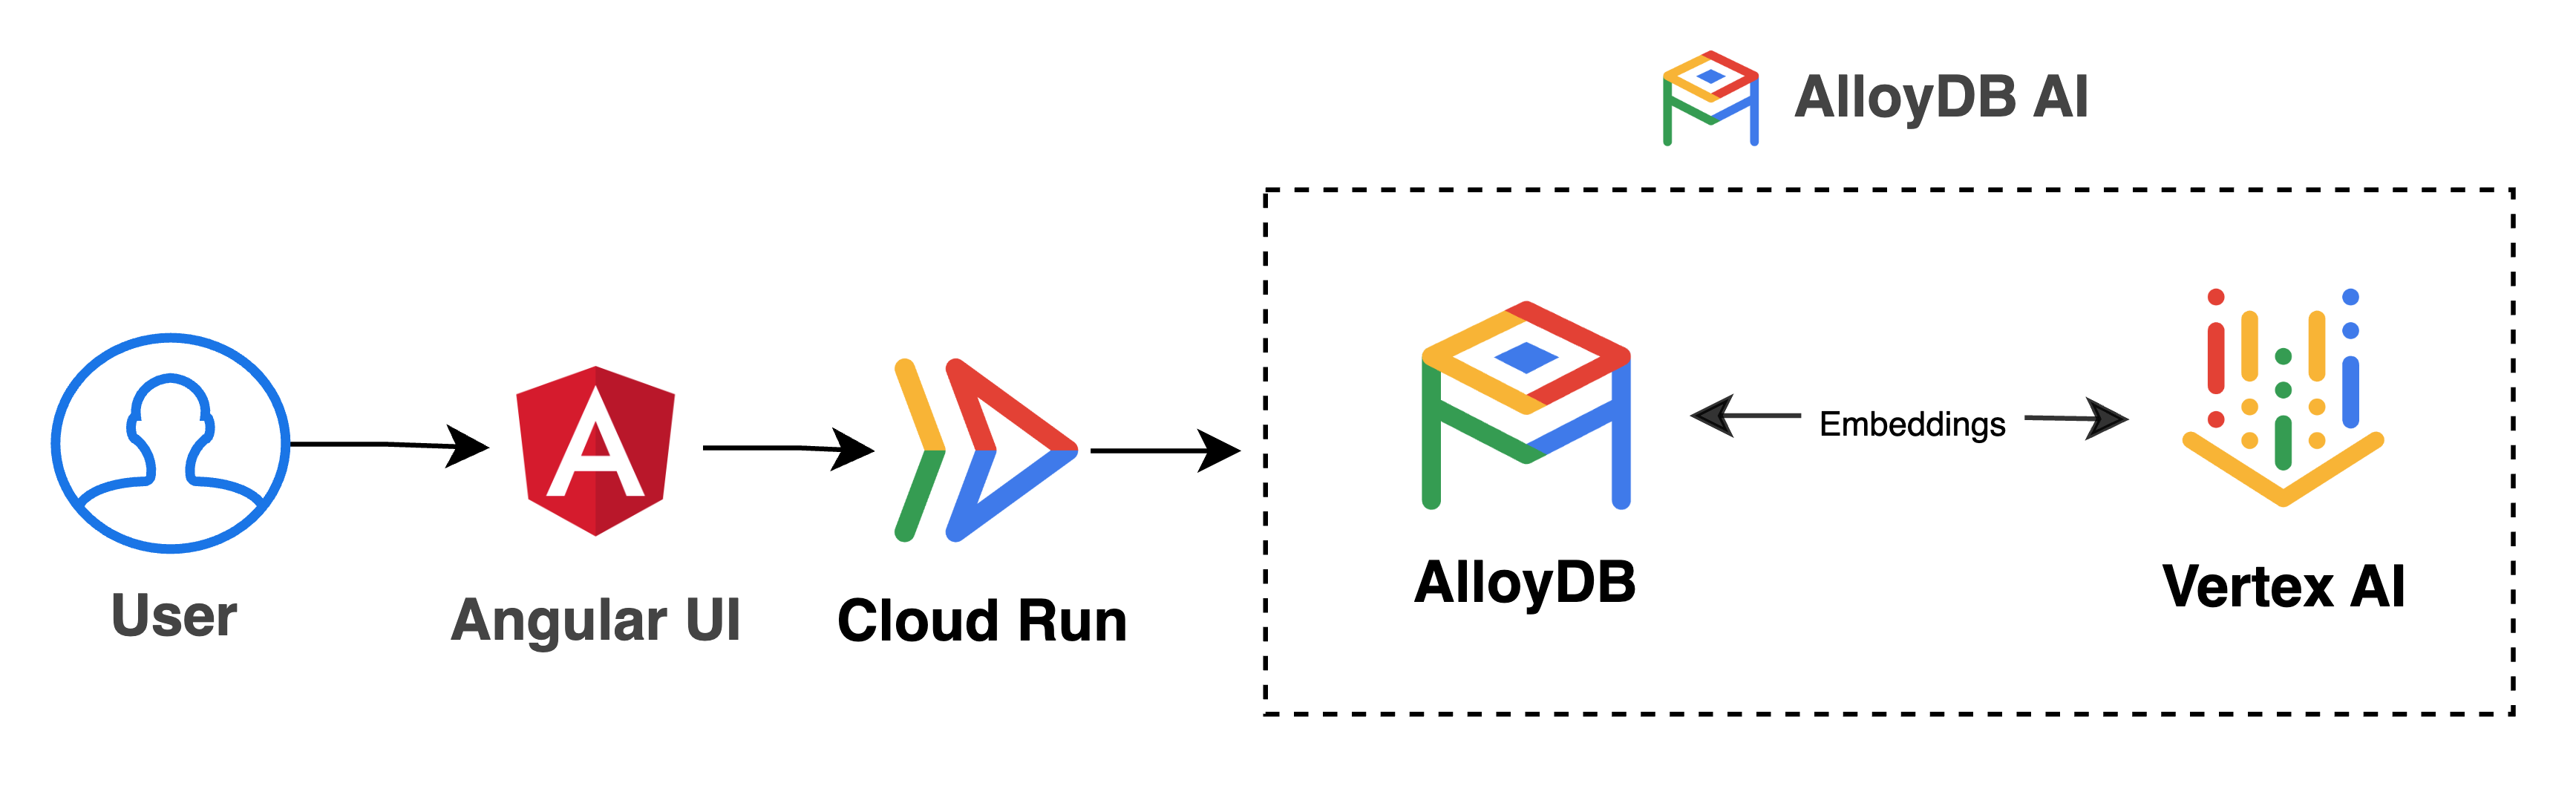
- Frontend: Angular 17+ user interface (
ui/). - Backend: Node.js 20+ using Express (
api/).- Serves the static Angular UI files.
- Provides
/api/*endpoints that connect to the AlloyDB instance.
- Deployment: The API and UI are packaged into a single Docker container and deployed to Cloud Run. The Express backend serves both the API routes and the static Angular frontend files.
Prerequisites
- Node.js (v20 or later recommended)
- Angular CLI (v17 or later recommended)
- Access to the configured AlloyDB instance (ensure network connectivity and credentials).
- Google Cloud SDK (
gcloud) installed and authenticated (gcloud auth login,gcloud auth application-default login). - Docker installed and running (for building the container image).
- Git installed (for cloning the repository and tagging releases).
- A Google Cloud Project with Billing Enabled.
- Required APIs enabled in your Google Cloud project (e.g., Cloud Run, Artifact Registry, AlloyDB).
- The repository cloned to your local machine or Cloud Shell.
Deployment to Cloud Run
These steps build the combined API/UI container image, push it to Artifact Registry, and deploy it as a Cloud Run service. This works best from Google Cloud Shell.
-
Clone Repo and Navigate to demo_app Directory:
-
Authenticate to Google Cloud: If you haven't already:
-
Configure Environment Variables:
- Edit the
env.shscript:- Update the variables like
REGION,ALLOYDB_CLUSTER,ALLOYDB_INSTANCE, andVPC_NETWORKto match your Google Cloud setup. - If connecting over Public IP from your device, change
.ipAddressto.publicIpAddressin the line starting withexport ALLOYDB_IP.
- Update the variables like
-
Source the script. It will prompt for your AlloyDB
postgresuser password if theALLOYDB_PASSWORDvariable isn't already set.
- Edit the
-
Run the Deployment Script: The
install.shscript orchestrates the deployment process:deployment/deploy-registry.sh: Creates an Artifact Registry repository namedcymbalshopsif it doesn't exist.-
deployment/deploy-frontend.sh: Builds the Docker image, tags it based on the latest git tag, pushes it to Artifact Registry, and deploys the image to a Cloud Run service namedcymbalshops. It configures the service with network settings and injects AlloyDB connection details as environment variables.
-
Access the Application: After deployment,
gcloudwill output the URL for the deployed Cloud Run service. You can access the Cymbal Shops application using this URL.
Local Development Setup
To run the API and UI locally for development:
-
Authenticate to Google Cloud: If you haven't already:
-
Configure Environment Variables:
- Edit the
env.shscript.- Update the variables like
REGION,ALLOYDB_CLUSTER,ALLOYDB_INSTANCE, andVPC_NETWORKto match your Google Cloud setup. - If connecting over Public IP from your device, change
.ipAddressto.publicIpAddressin the line starting withexport ALLOYDB_IP.
- Update the variables like
-
Source the script. It will prompt for your AlloyDB
postgresuser password if theALLOYDB_PASSWORDvariable isn't already set.
- Edit the
-
Start the Backend API:
-
Start the API:
-
-
Start the Frontend UI:
- Open another terminal.
-
In
ui/src/app/app.config.ts, changeBASE_URLfrom/apitohttp://localhost:8080/api(or use a specific IP instead of localhost if necessary, e.g. on GCE). -
The UI will now be available at
http://localhost:4200/. It connects to the API server over port 8080 on localhost (or your defined api).