Installation
The extension ships as a .vsix file. The first time you activate it, it offers to install the cxas-scrapi Python CLI for you. Once both pieces are in place you're ready to open a project.
Prerequisites
| What | Why | How to check |
|---|---|---|
| VS Code 1.85+ | Engine version the extension targets | Code → About |
| Python 3.10 or newer | The extension shells out to the cxas CLI | python3 --version |
pip on PATH | Used by the auto-install prompt | python3 -m pip --version |
| gcloud Application Default Credentials | Required for Push App, Pull App, Run Evaluation, Open Live Chat, anything that talks to CES | gcloud auth application-default login |
If you already have cxas-scrapi installed and on your PATH (cxas --help works in your terminal), you can skip the auto-install prompt.
Install the extension
- Download the extension: Download the VS Code extension VSIX package directly from vscode-cxas-0.1.0.vsix.
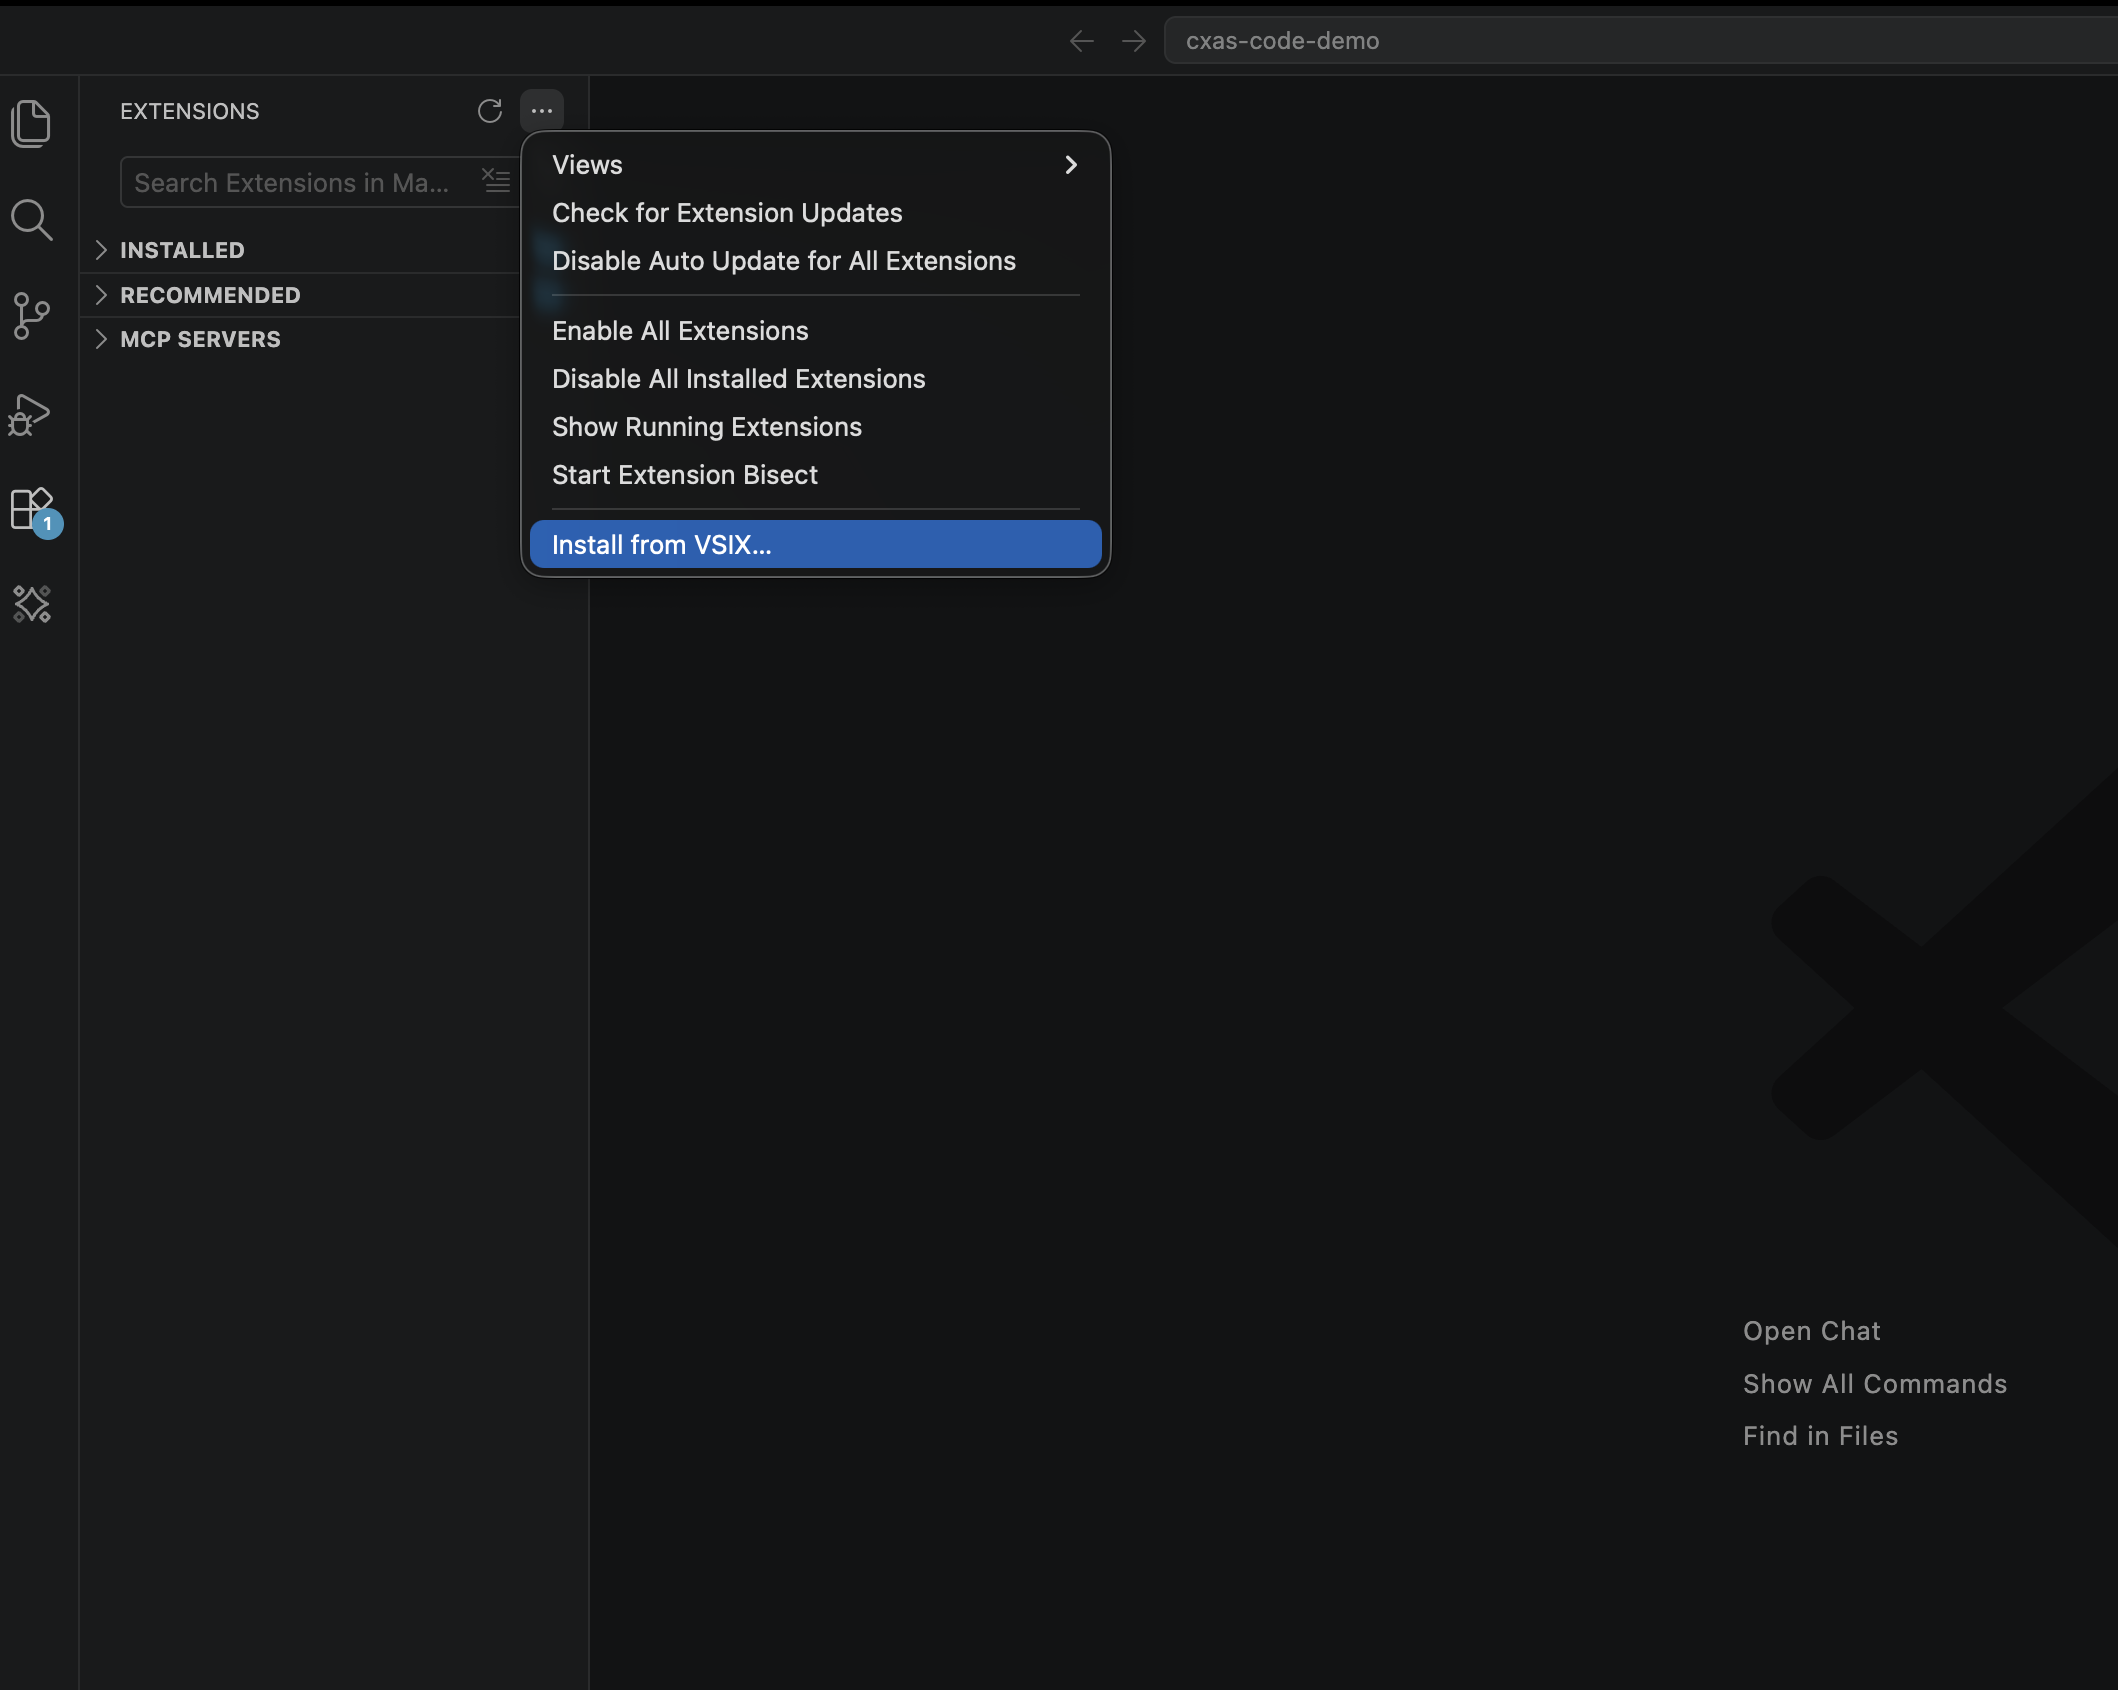
- Open the Extensions sidebar (
Cmd+Shift+X/Ctrl+Shift+X), click the…menu in the top right of the panel, and pick Install from VSIX...:
- Select the downloaded
vscode-cxas-0.1.0.vsixfile. When prompted, click Reload Window to activate.
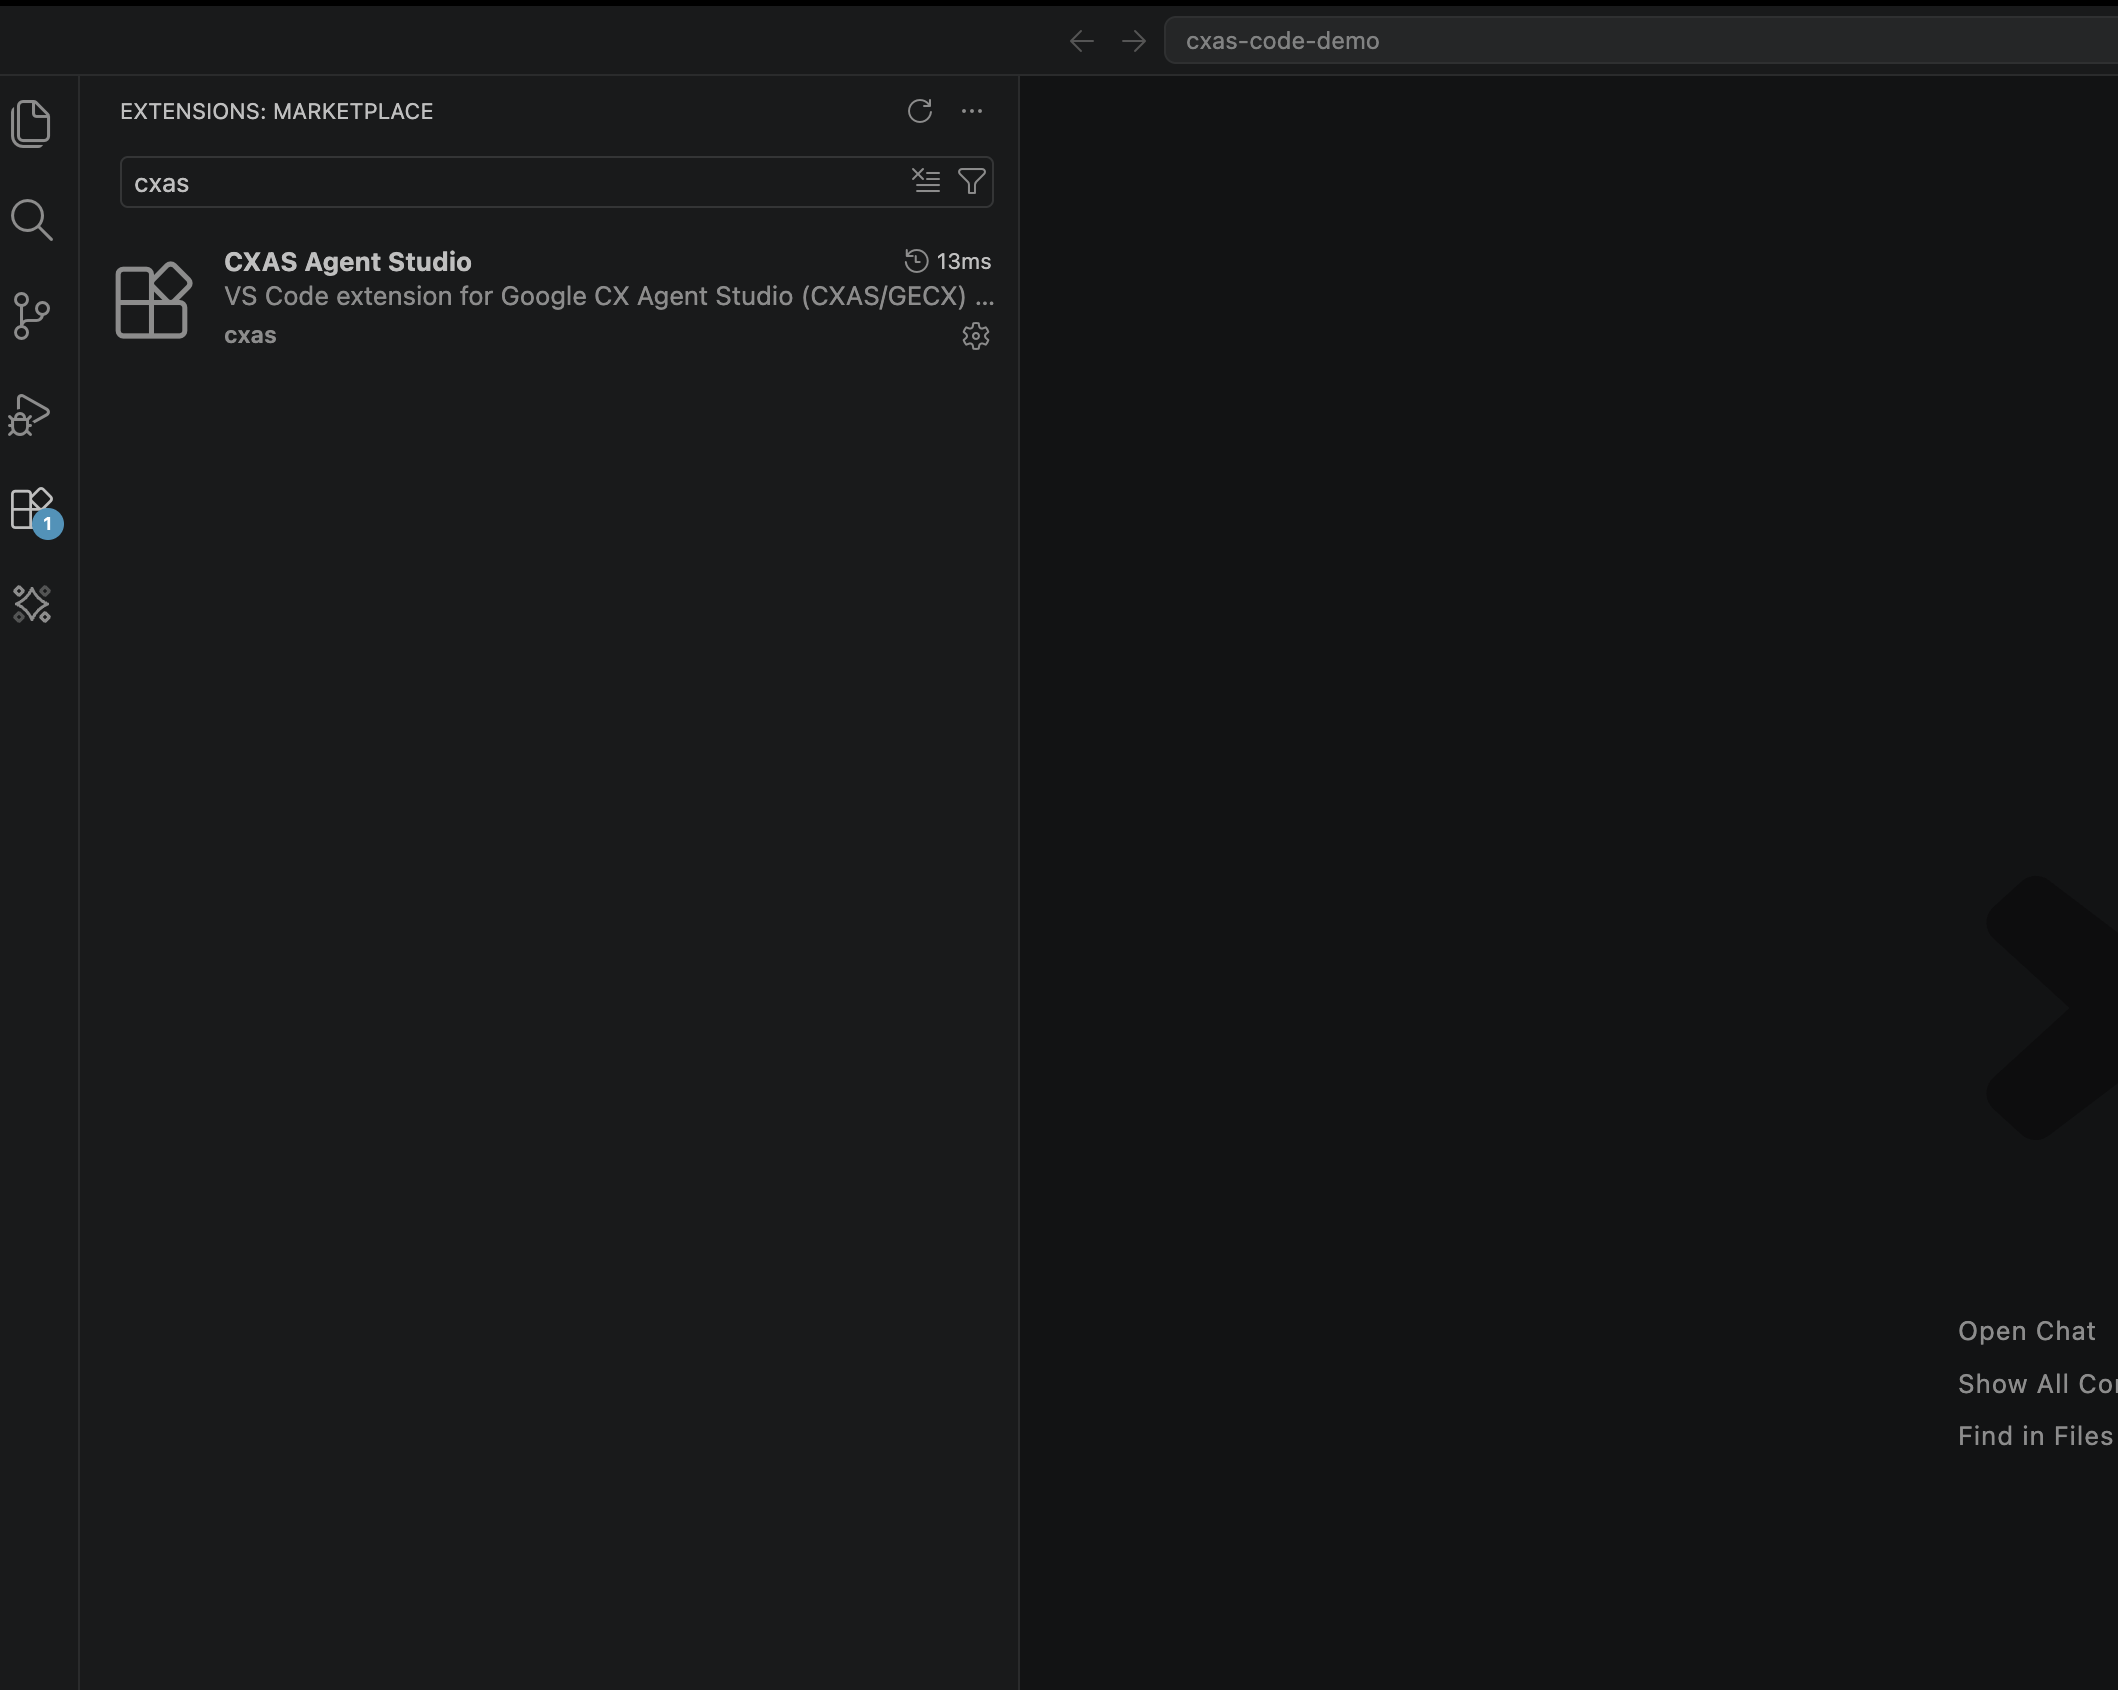
After the reload, search for cxas in the Extensions panel to confirm the install:
Install the cxas CLI
The extension needs the cxas Python CLI to do anything that touches CES. You don't have to install it manually. On first activation, if cxas isn't on your PATH, a notification pops up:
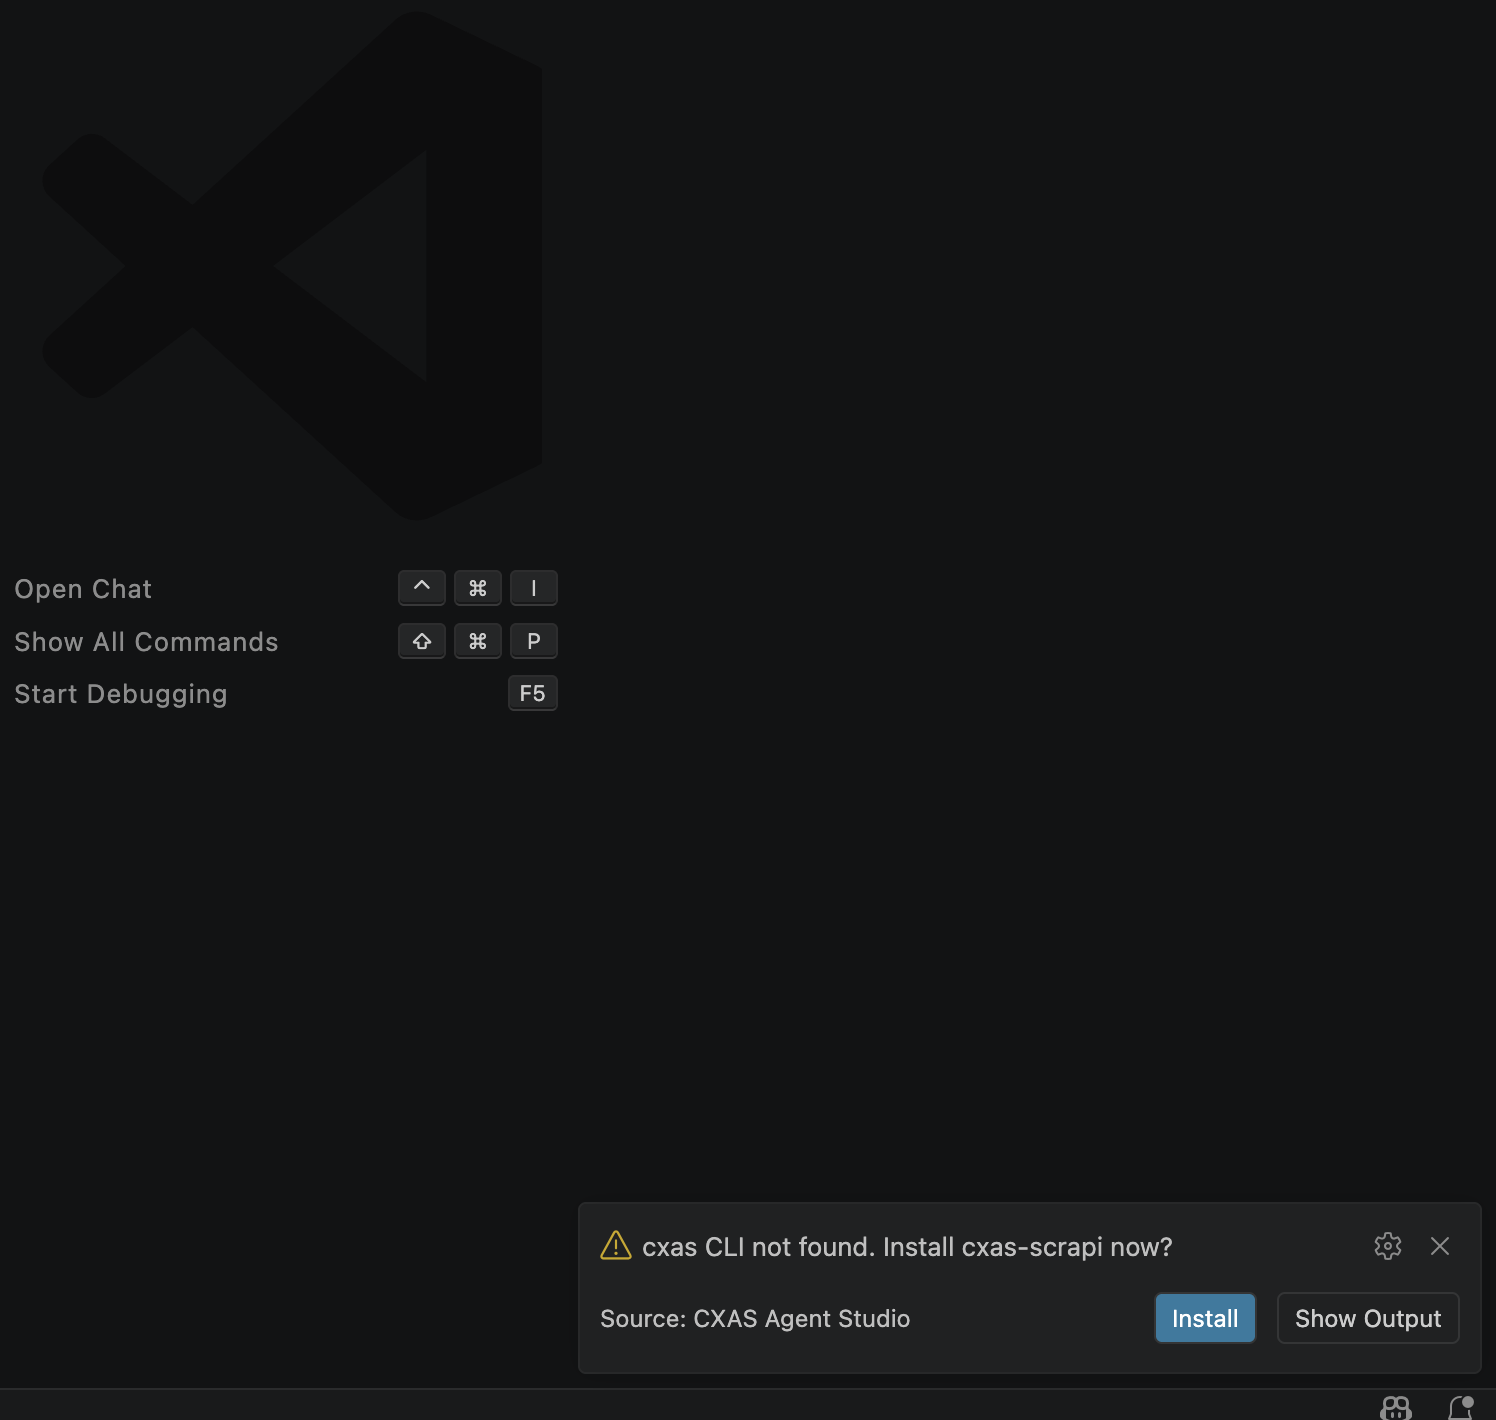
Click Install. The extension opens an integrated terminal labeled CXAS Install and runs:
When pip finishes, click Reload Window in the follow-up notification. That's it.
Manual install (if you dismissed the prompt)
Then run Developer: Reload Window from the Command Palette so the extension picks up the new binary.
Behind a corporate proxy?
If pip install fails because of a private package index, configure pip first (or set cxas.pythonPath to a Python that already has cxas-scrapi installed) and re-run the install command. See Settings & troubleshooting for the relevant settings.
Verify the install
Open the Command Palette (Cmd+Shift+P) and type CXAS:. You should see the full list of commands:
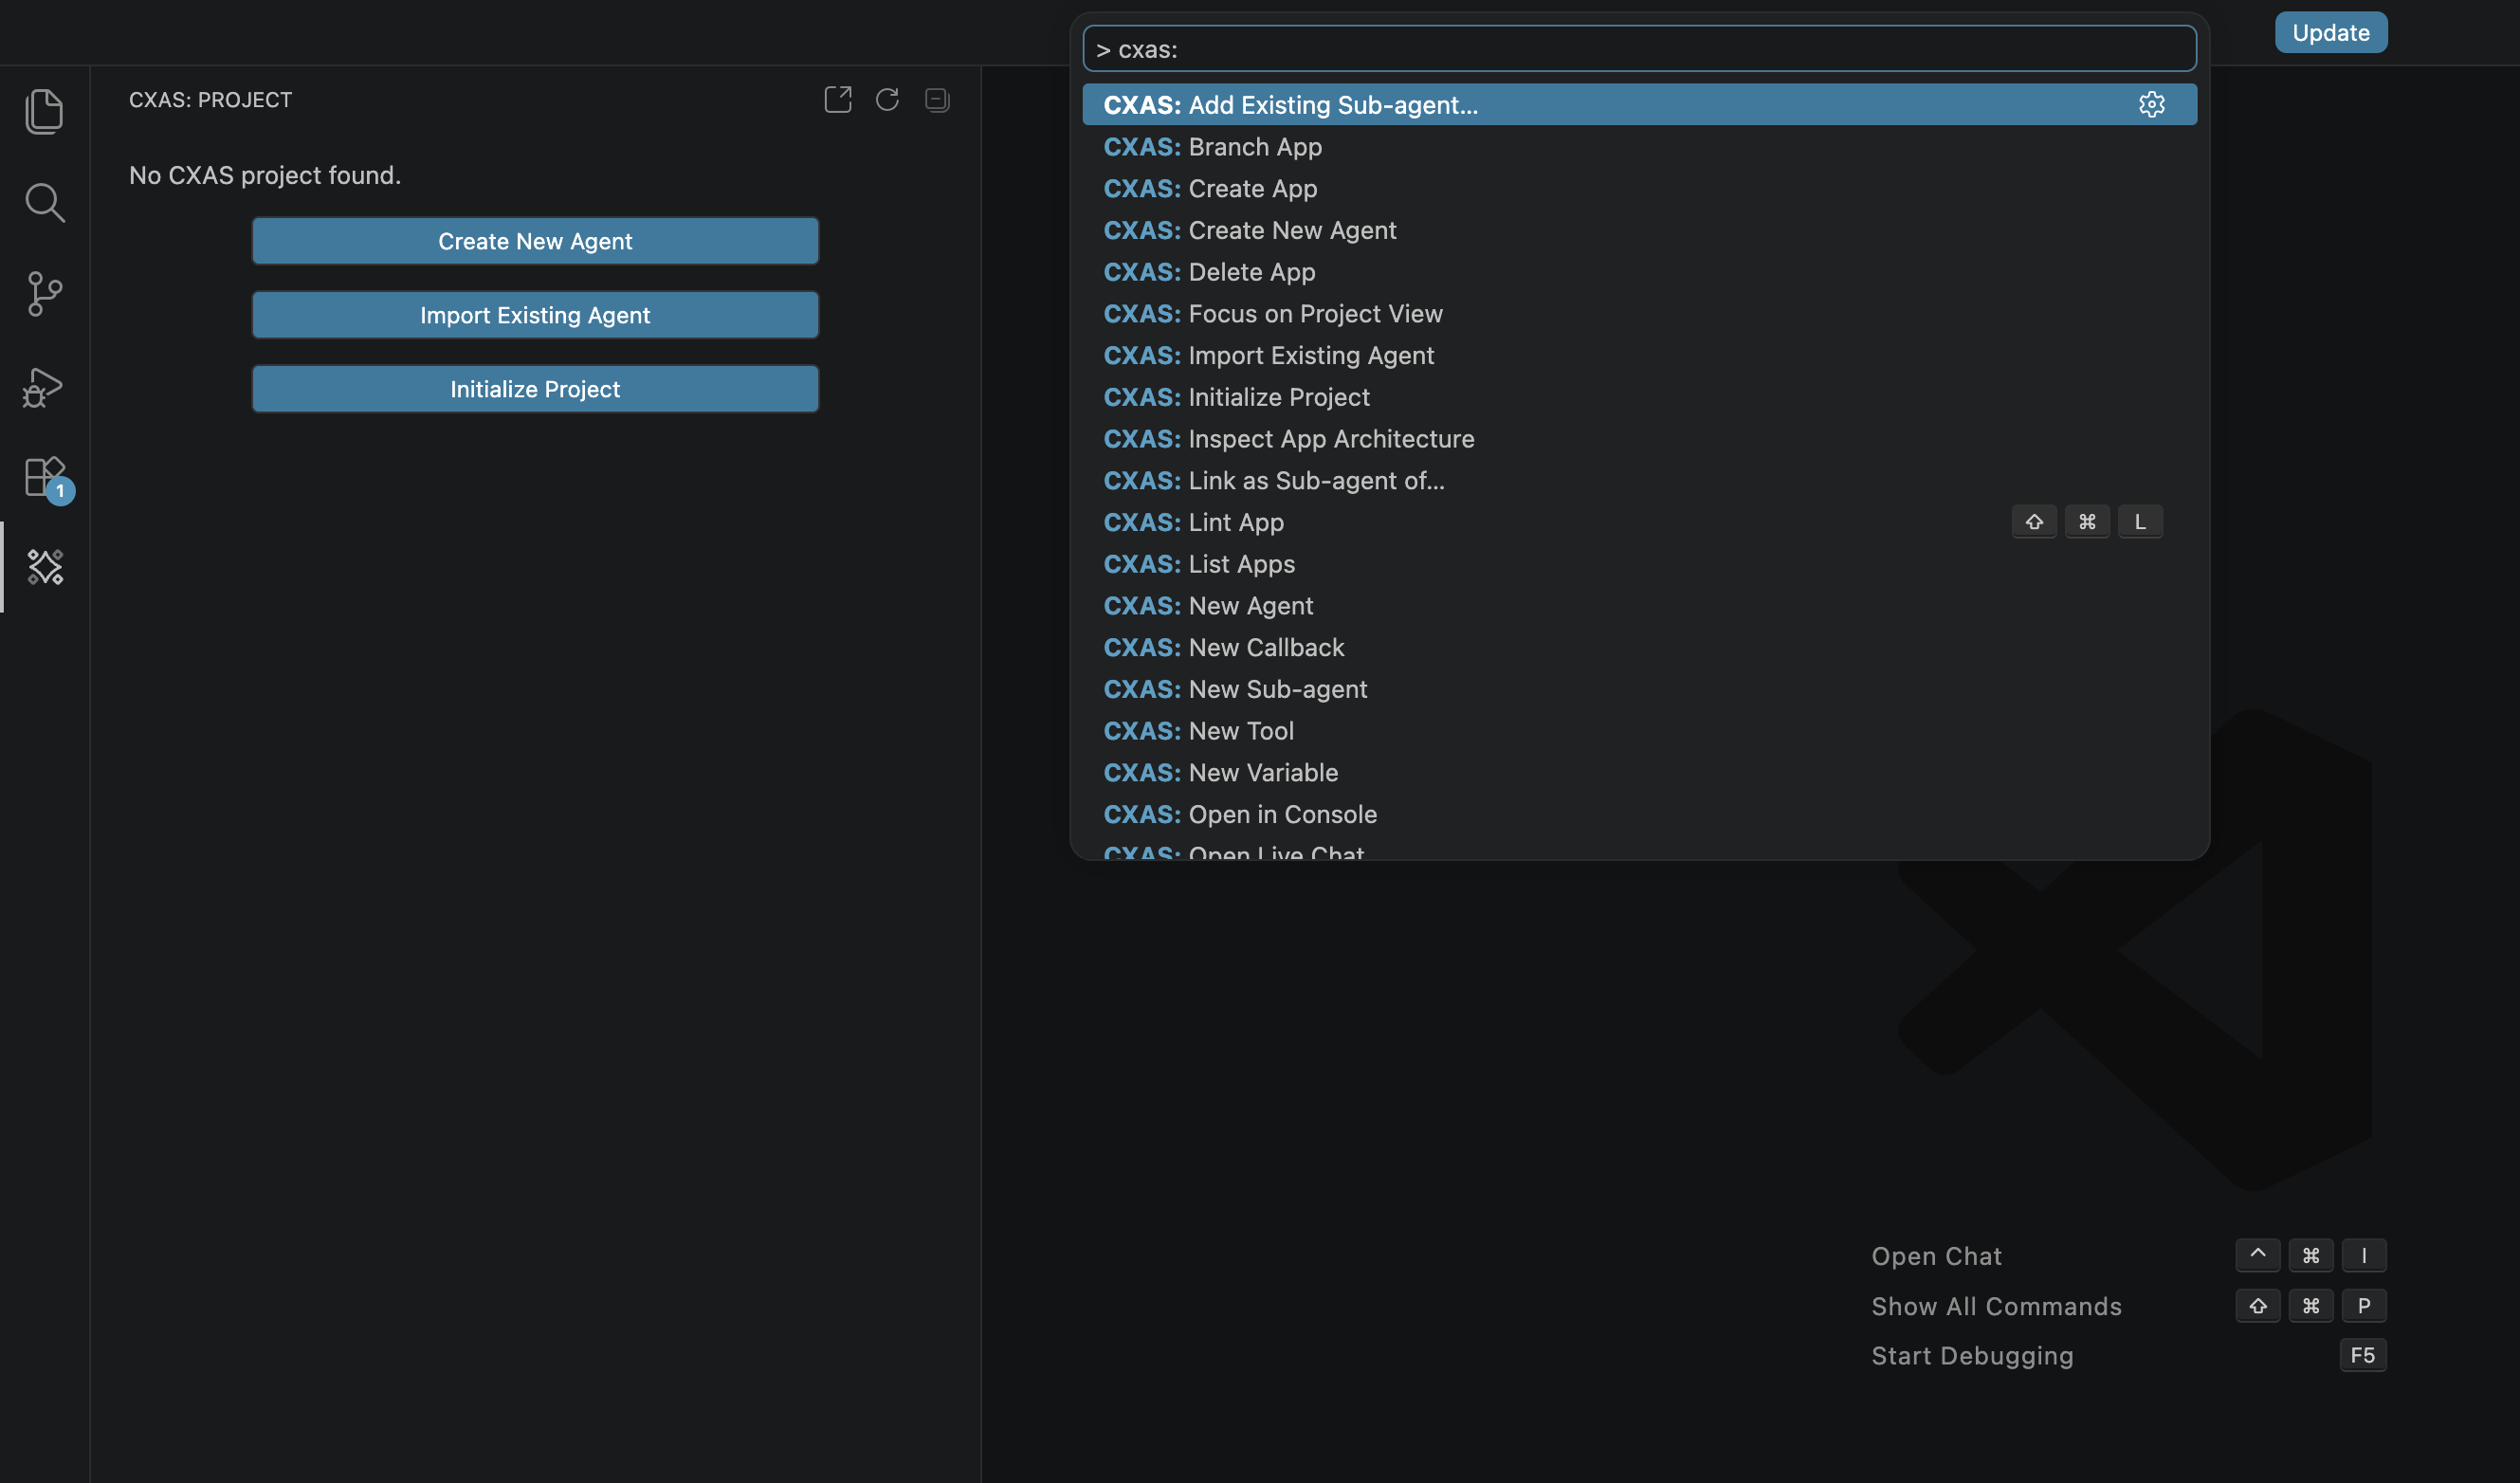
Twenty-plus commands are registered, all under the CXAS: prefix. The most common ones are covered in Quickstart; the rest are reachable from tree-view context menus and editor right-click menus.
Where to next
The fastest way to confirm everything works is to build a small agent end to end. Continue to Quickstart, or jump straight to Importing from CES if you already have a deployed app to pull from.