CXAS Agent Studio for VS Code
The CXAS Agent Studio extension wraps the cxas CLI in a native VS Code experience. Everything you'd otherwise do from a terminal (pull, push, lint, run evals, chat with a deployed app) is a Command Palette entry or a tree-view click. Authoring is faster too: instruction files get syntax highlighting, hover hints, Cmd+click navigation between {@TOOL: ...} references, and inline lint as you type.
This section walks through installing the extension, building a complete demo agent end to end, and the day-to-day editor features you'll use after that.
What you get
Project tree- A dedicated CXAS sidebar in the activity bar that lists every app, agent, tool, callback, variable, and eval in your workspace. Right-click context menus scaffold new resources without leaving the tree.
Command Palette integration- Every
cxascommand is mirrored under theCXAS:prefix in the palette:Push App,Pull App,Lint App,Run Evaluation,Open Live Chat,Branch App, and more. Inline lint- The same rules as
cxas lintrun as you type, surfaced as squiggles in the editor and entries in the Problems panel. A keybinding (Cmd+Shift+L/Ctrl+Shift+L) reruns the full project lint on demand. Cmd+click navigation- Click a
{@TOOL: name}reference ininstruction.txtto jump to the tool'spython_code.py. The same works for{variable}references and sub-agent links inside agent JSON. Live chat- A built-in webview that talks to your deployed CES app. Useful for sanity-checking a push without switching to the GCP console.
Eval runner- Run a single tool test, callback test, or golden inline; or run the full suite and view an aggregated report panel.
Wizards- Two onboarding flows: scaffold a project from scratch, or import an existing app from CES into a fresh local workspace.
Empty project welcome
Open a workspace that doesn't have a CXAS project yet and the CXAS sidebar greets you with three buttons:
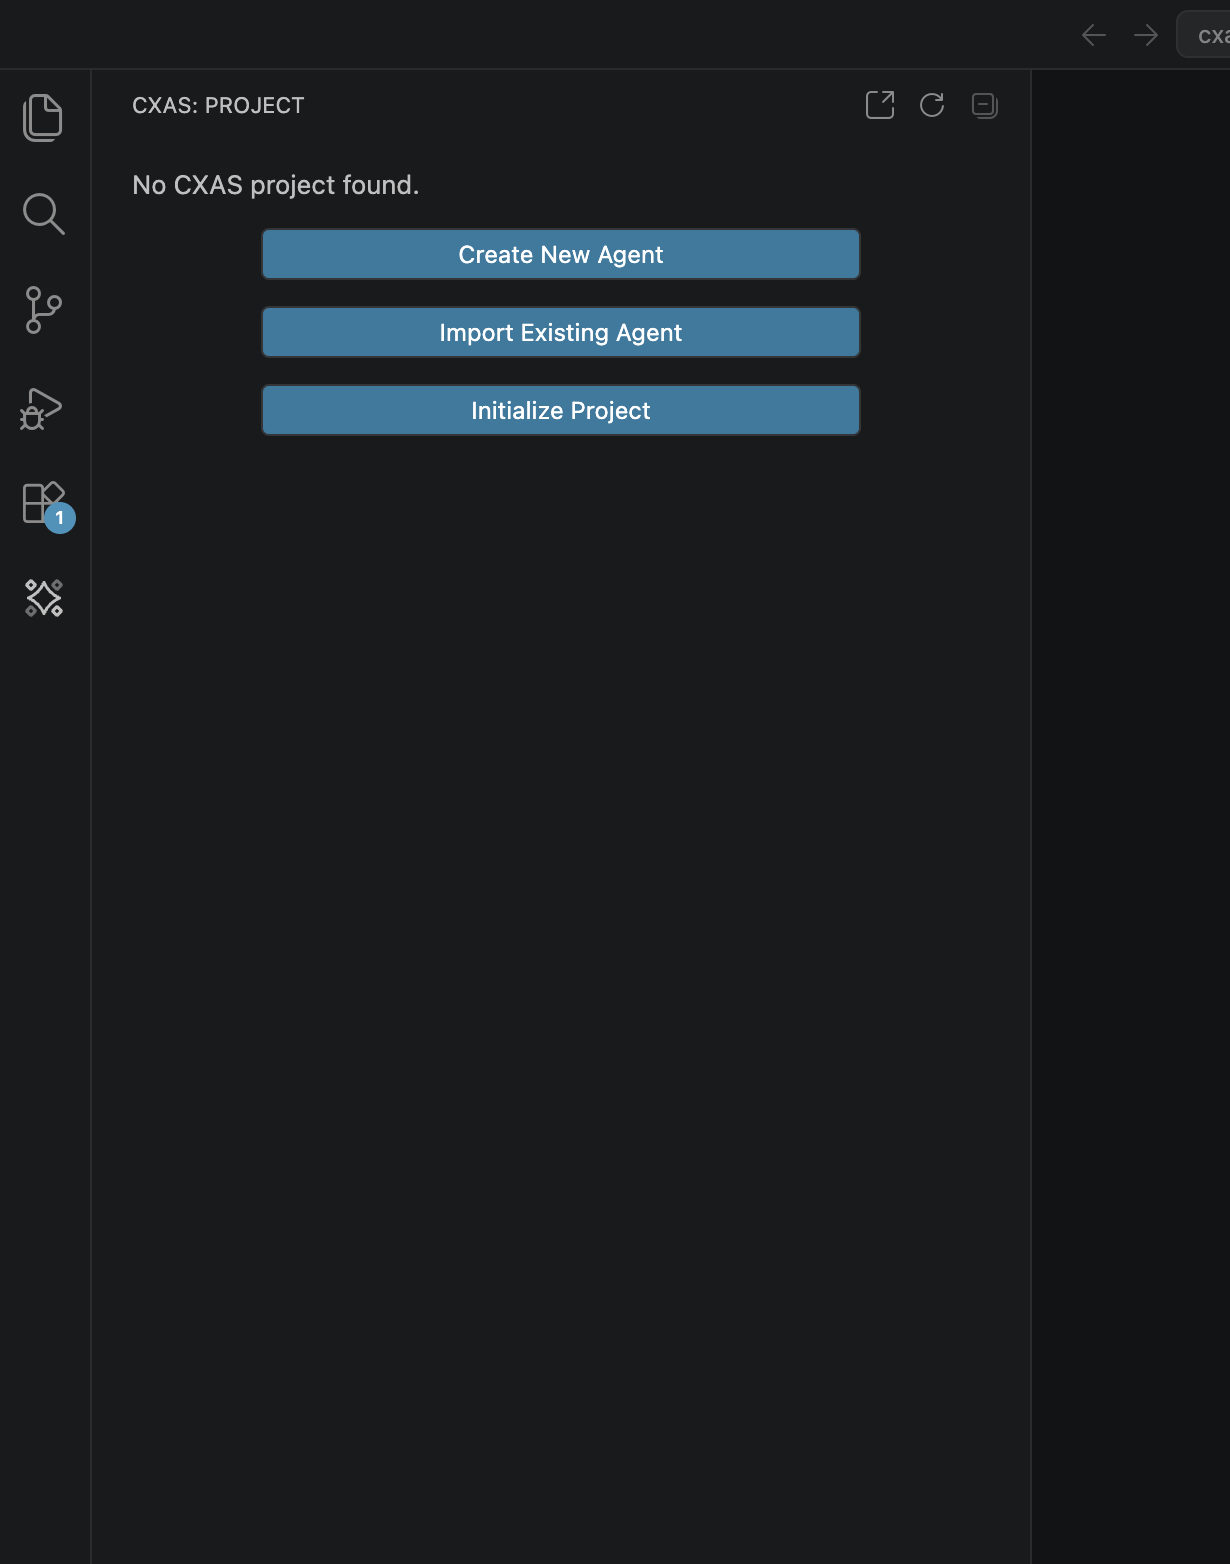
The rest of this section is organized around those three entry points:
- Initialize Project is covered by Quickstart, which walks you through building a complete demo agent (
bluebird-greeter) from an empty folder. - Import Existing Agent is covered by Importing from CES, the canonical way to start working on an app that already lives on the platform.
- Create New Agent opens an AI-assisted wizard that delegates scaffolding to a separate skill. It isn't covered here; the manual flow in Quickstart maps cleanly to the same outcome.
Where to go next
- Installation
- Install the
.vsix, get thecxasCLI on yourPATH, and skim the prerequisites. - Quickstart
- Build the
bluebird-greeterdemo end to end: app, agent, tool, callback, lint, push, live chat, evals. - Authoring features
- The editor and tree features you'll use every day after the demo: syntax highlighting, hover, Cmd+click navigation, scaffolding context menus, and snippets.
- Evaluations
- Tool tests, callback tests, goldens, and simulations: where they live, how the plugin runs them, and how to read the report panel.
- Importing from CES
- The four-step
Import Existing Agentflow for pulling a deployed app into a fresh workspace. - Settings & troubleshooting
- Reference for every
cxas.*setting plus fixes for the issues you're most likely to hit.